Guide: Travel accounting
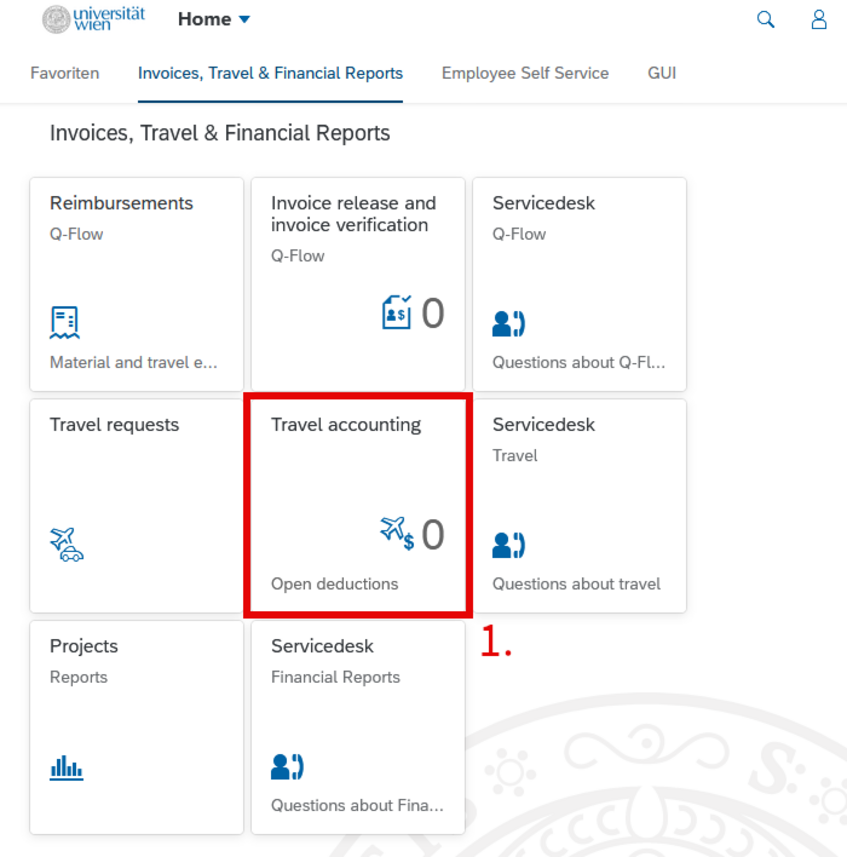
- 1. Choose the app "Travel accounting" in the section "Invoices, Travel & Financial Reports".
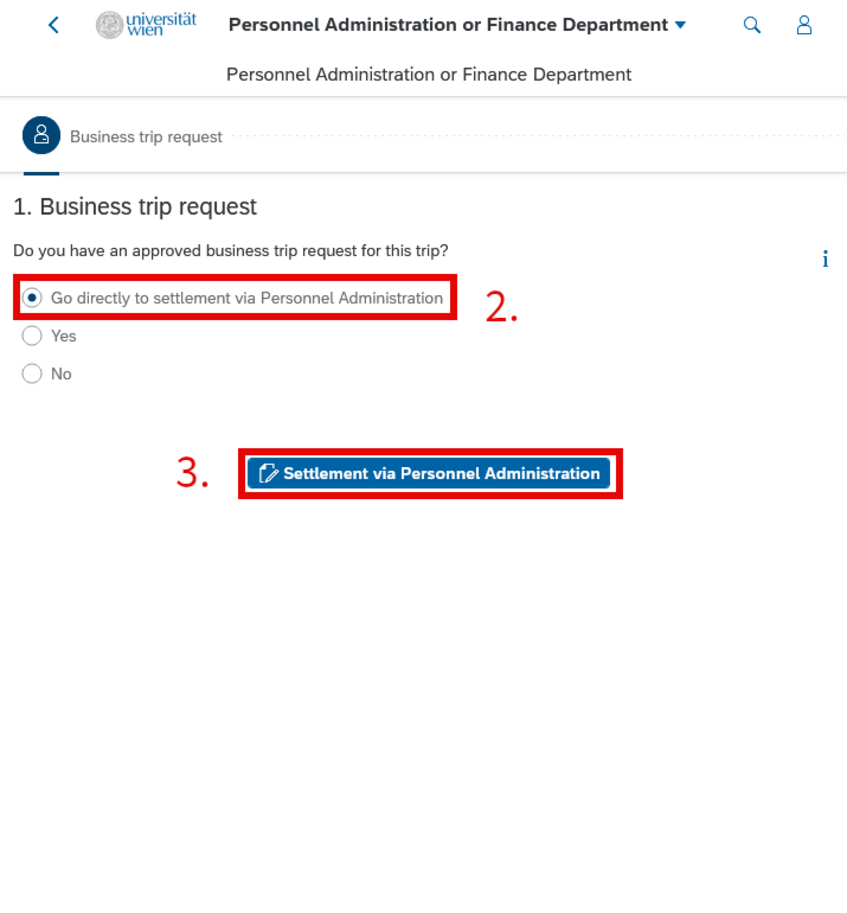
- 2. Choose "Go directly to settlement via Personnel Administration".
- 3. Click on "Settlement via Personnel Administration".
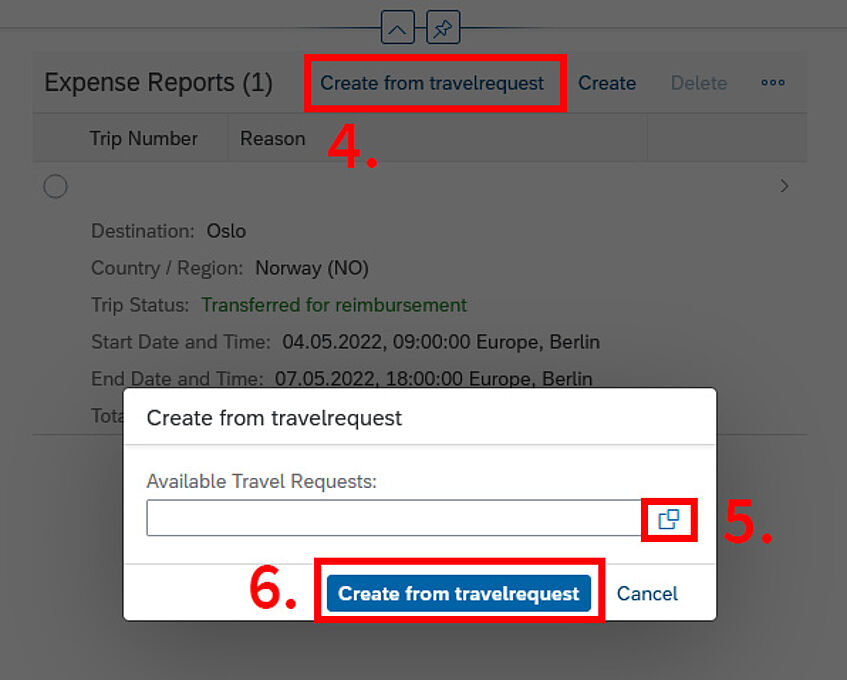
- 4. Click on "Create from travelrequest" to open a small window.
- 5. Click on the two squares to get to an overview of your open claims and choose the trip you want to get reimbursed for.
- 6. Click "Create from travelrequest" to open the new claim.
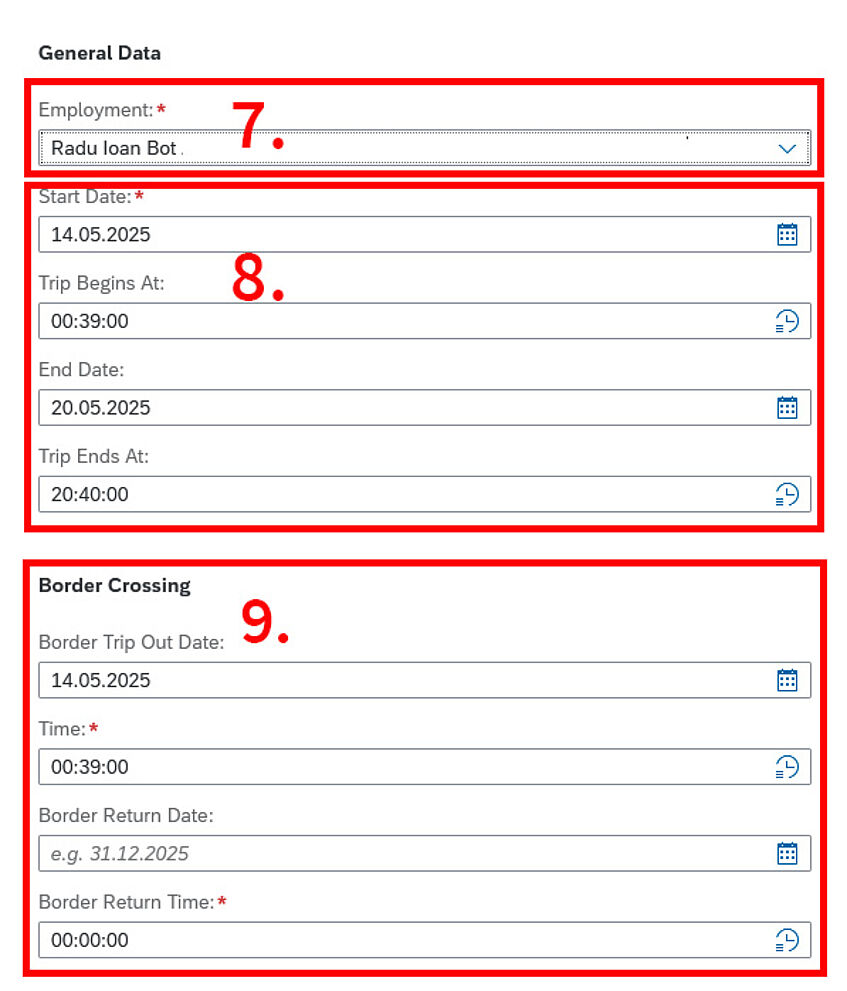
- 7. Check if the employment section is filled in correctly. If you are a project leader or Faculty member, you should see the Dean's name. As a project employee, it should be the name of your project leader.
- 8. Update start and end date with the times you left and reached your home in Vienna.
- 9. Enter border crossing times. If you took a flight, enter departure and arrival time in Vienna.
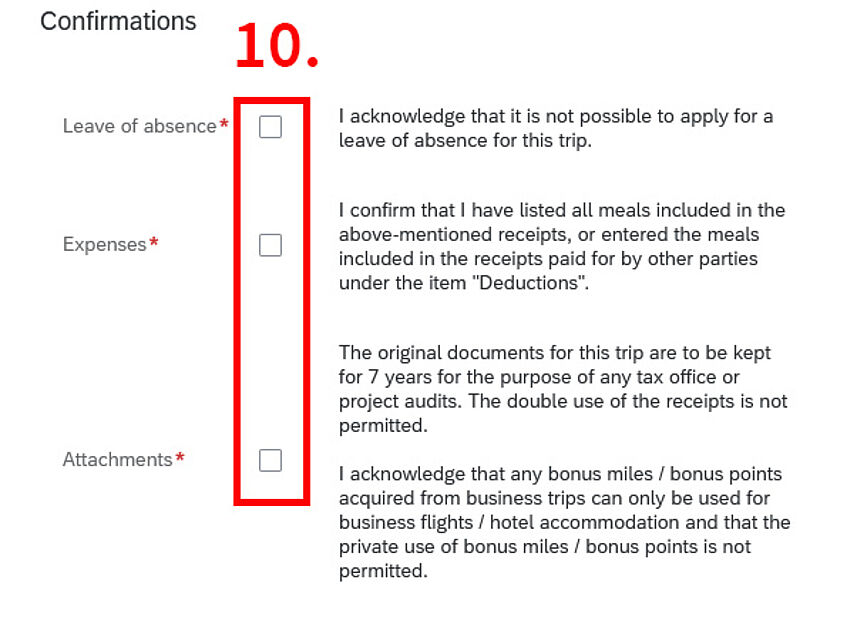
- 10. Read and confirm the acknowledgements.
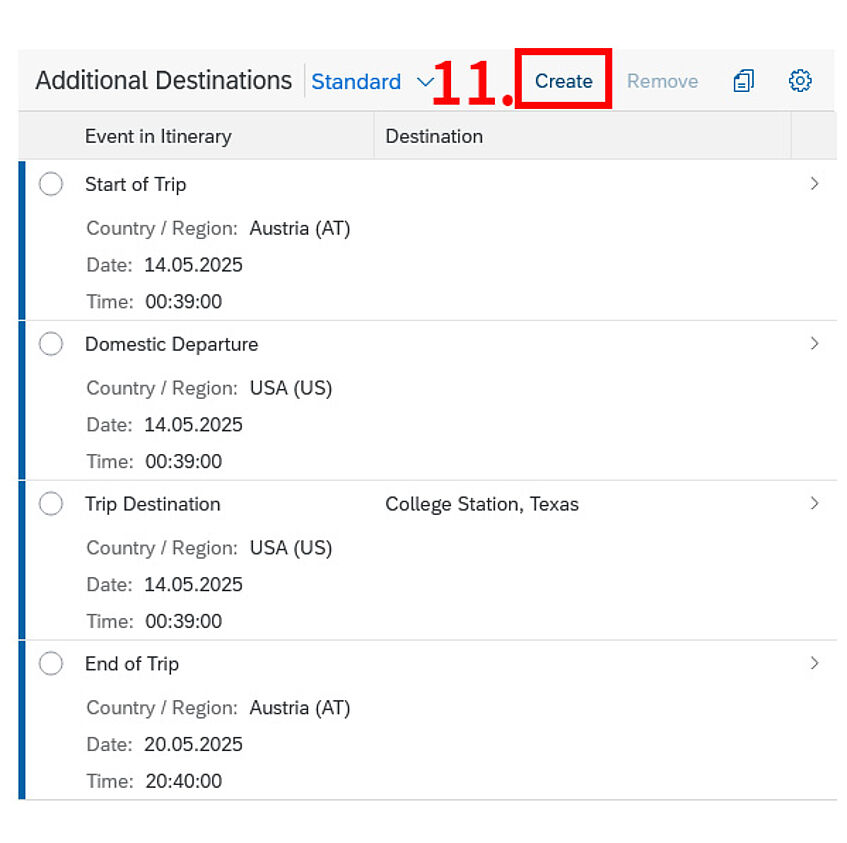
- 11. If you travelled to multiple countries, add the additional destinations via the "Create" button.
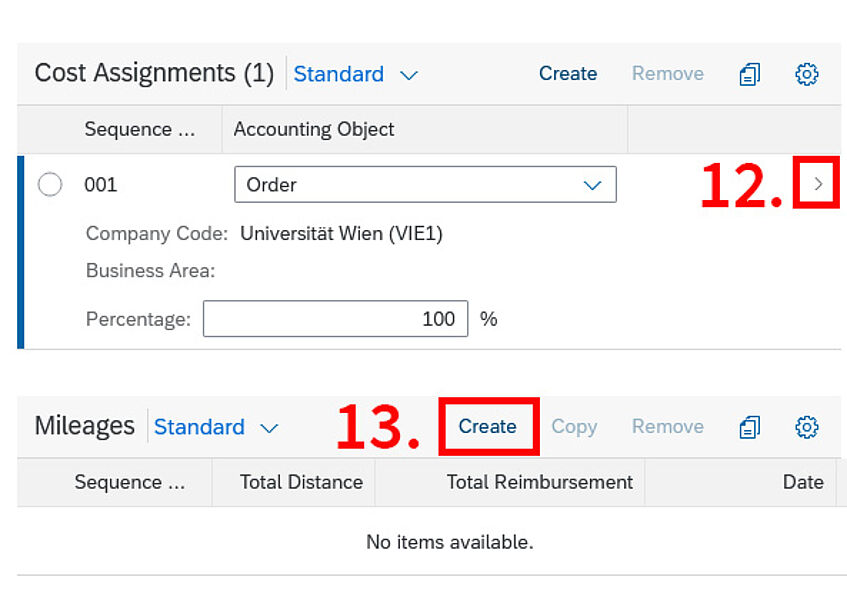
- 12. Check if the right order number is indicated by clicking the arrow to the right.
- 13. If you went by car, click "Create" to add mileages. Please fill all required fields (e.g. licence plate number and kilometre reading).
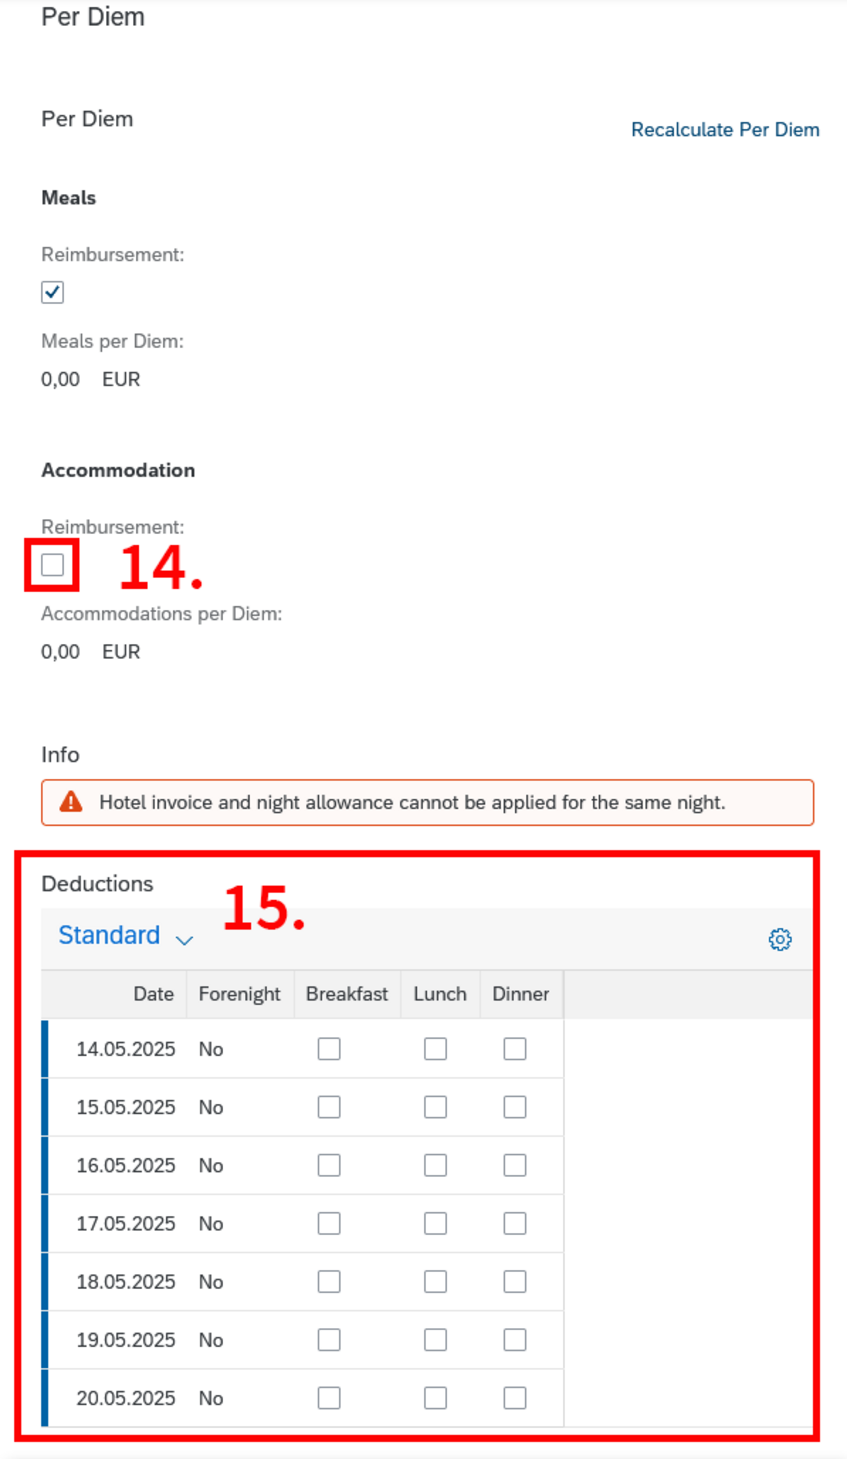
- 14. If you are claiming accomodation costs without receipts/invoices, click on the checkbox for nightly allowance.
- 15. Indicate all meals already covered (e.g. by hotel, host or venue) by clicking on them.
The overview indicates deductions: All meals clicked are not getting reimbursed.

- 16. Add all expenses you want to get reimbursed for one by one by clicking on "Create" in the Receipts section.
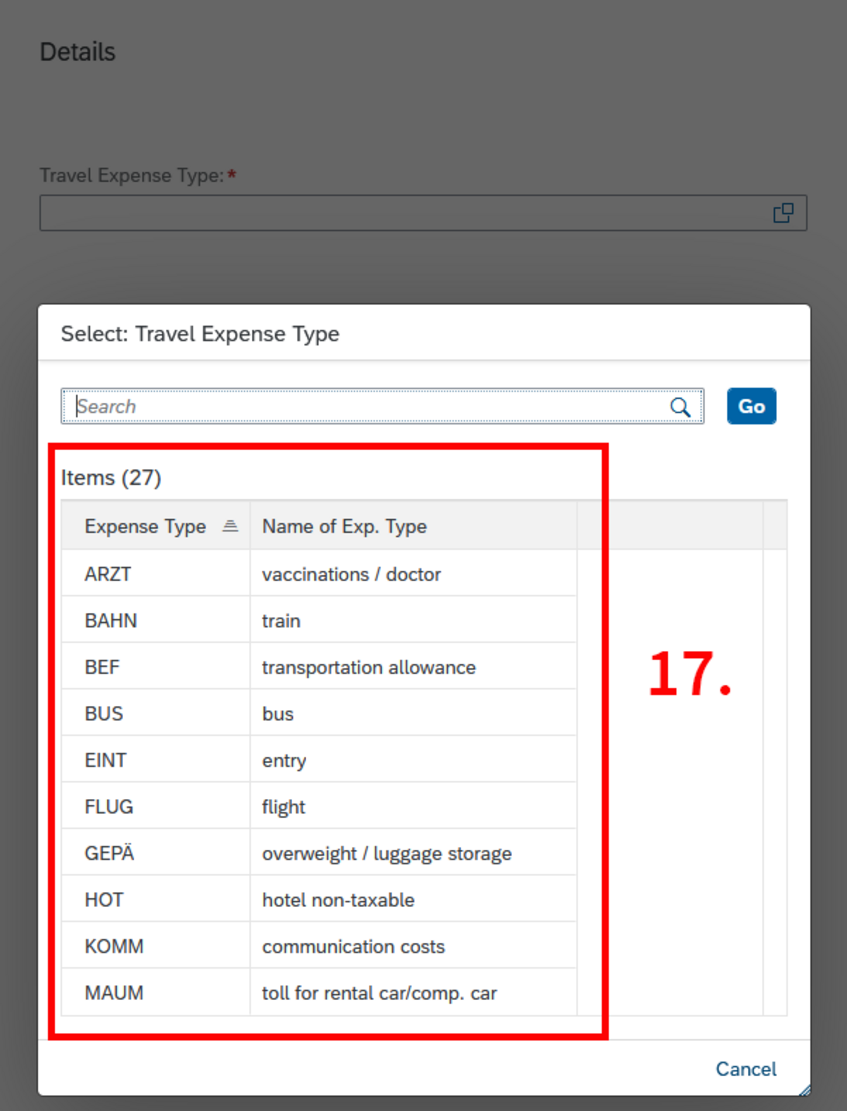
- 17. Choose the corresponding expense type by clicking on it.

- 18. Enter the amount of the ticket/invoice - best in Euro!
- 19. Leave the expense date on the pre-filled date and avoid foreign currencies.
As Personnel requires payment confirmations anyway, enter the Euro amounts actually deducted from your bank account/credit card.

- 20. Only change the cost assignments if the specific ticket/invoice should be covered from another order number/cost center.
- 21. Add the corresponding attachment for the specific ticket/invoice and click "Apply" in the bottom right corner.
If you have more receipts, repeat from step 16.

- 22. Click on "Create & Submit" (and confirm possible acknowledgements) to finish the process. If you don't want to submit yet, you can also save the request to edit it later by clicking "Create".
- Closing remarks:
- If you run into errors or the system doesn't let you proceed at any step during the process, try saving the draft by clicking "Create", close the reimbursement and open it anew.